
Delicious Audio Software and Plug-ins
Internet Radio Broadcasting
Internet radio broadcast encoder.
Deliver streaming audio over the web.
Streaming audio cloud platform.
Music Production
Audio editor and sample slicer.
Legacy Music Production and VST Plug-ins
Organic music sketchpad.
Classic mellow synthesizer.
Raw analog synth samples.
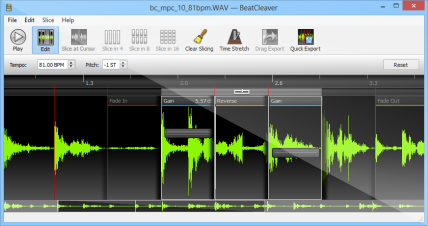
This tutorial explains how to do basic audio editing using our audio editing software, BeatCleaver (for Windows). If you need to trim, fade, cut, amplify, or rearrange a sound or sample, this quick tutorial will show you how. BeatCleaver was originally designed for chopping audio, but has since grown to allow much more complicated editing.
Audio editing allows you to take a sound and change it. These changes could be simple, like fading out the end of a song, or they could be more involved like cutting and rearranging the audio in a song. It doesn't matter what kind of audio you want to edit - If you're editing a whole song, a recording, or even just a drum loop, the process here is the same. With BeatCleaver, you can edit MP3, M4A, FLAC, and WAV files (plus WMA on Windows too), so the file format won't matter much here either.
We're going to start right from the very beginning and walk you through some basic audio editing:

To open an audio file in BeatCleaver, drag it from a folder and drop it on the BeatCleaver window, or in the menu, select "File->Open..."
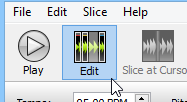
Turn on Edit Mode by clicking the big "Edit" button on the toolbar at the top.
Alternatively, you can enable Edit Mode by pressing the E key on your keyboard.
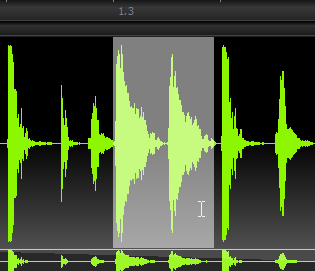
To select audio, click and drag on the big green waveform. The selected region will turn white.
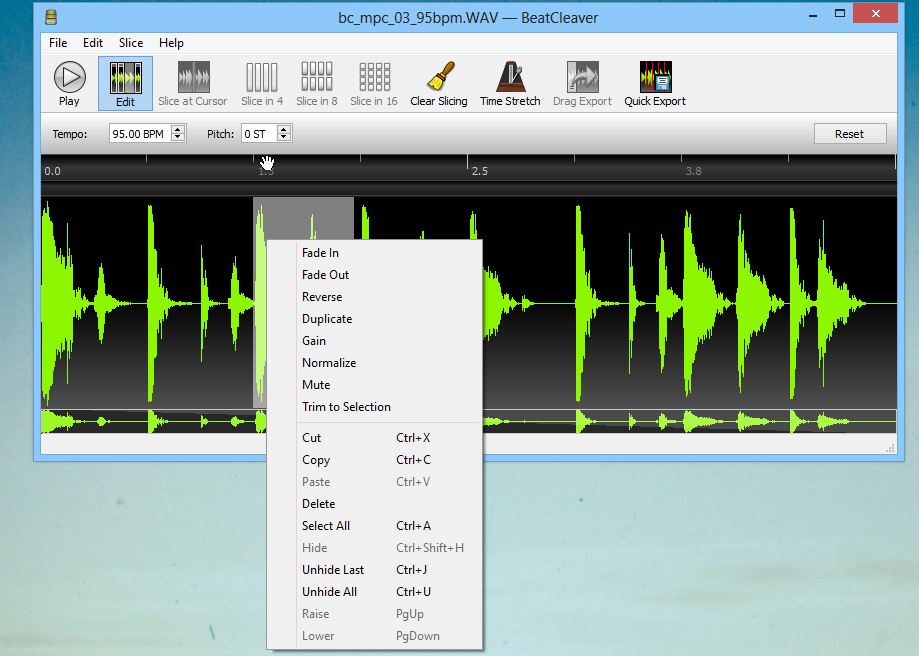
To apply an edit to the selection region, right-click on it (the selected, white region), and choose an edit to make from the list.
For example, if you right-click and select "Fade In", the highlighted audio will be faded in. Don't worry if the selection isn't perfect, because you can adjust and resize all your edits later.
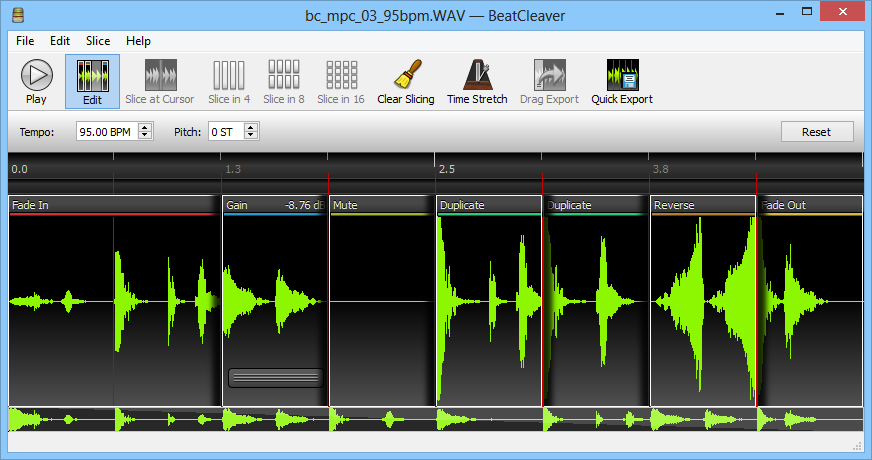
As of version 1.4, BeatCleaver allows you to make the following types of edits:
Rearranging Audio: Changing the Volume:

To save your edited audio file when you're done, select File->Save... from the menu at the top.
BeatCleaver saves to the WAV format, which is generally the most useful format because there will be no loss in quality. You can play WAV files out-of-the-box on Windows with Windows Media Player and with Quicktime on Mac.
That's all there is to it! You can repeat the above steps to apply multiple edits to an audio file (like fading in the start and fading out the end), and start combining them. For example, if you load a drum loop into BeatCleaver, you can rearrange the slices using the "Duplicate" edit. This tutorial covered how to edit audio files (songs, sounds, or samples) in BeatCleaver, and how to save the edited audio to disk. The edited audio will be saved in the WAV format, which is universally compatible with other audio software, so you can import them into a digital audio workstation or play them with any other audio software.
We hope this tutorial was helpful, but if you need extra help or have suggestions on how we can improve this tutorial, please let us know!
BeatCleaver is a sampling audio editor and beat slicer for sampling songs, recordings, and beats.
Chop, time-stretch, repitch, and edit all your samples and sounds. With fluid waveform editing and drag export, BeatCleaver makes the sampling workflow quicker and simpler.
Find out more about BeatCleaver!
Features at a Glance:
Try it today:
Ready to chop?


![]()
Copyright © Radio Mast, Inc. 2011 - 2026
VST is a trademark of Steinberg Media Technologies GmbH
